
SCANNING + PROCESSING
welcome to
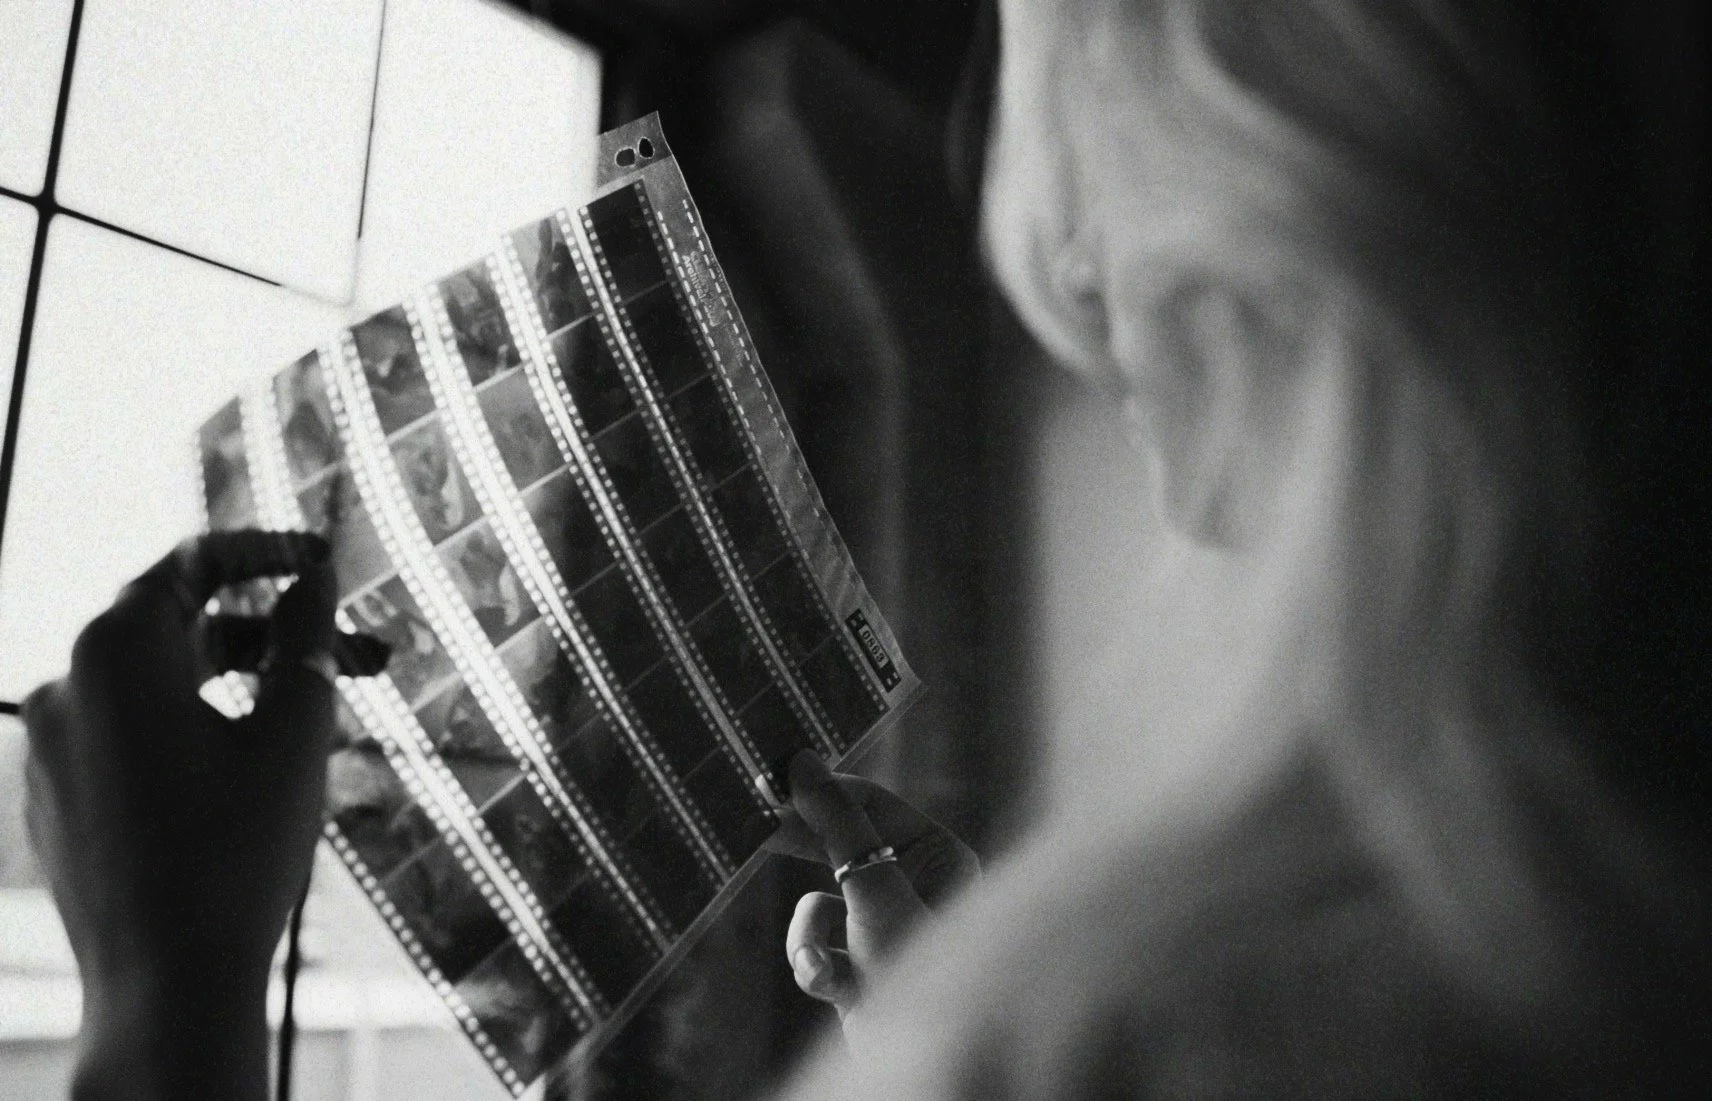
35MM & 120 FILM
part 1
Intro
Part 1 - Intro
Welcome to my entire post-process of film!
Learning how to scan film from home changed everything for me. Camera scanning helped me shed all of the stress of rising film costs and gave me full control over my images. This course will dive into everything I learned throughout the process including: lab sheets, scanning set ups, scanning 120 and 35mm, full conversion, editing, delivery and film archiving. I am so stoked to be sharing on my process with you and can't wait to get you amped on taking the life of your negatives into your own hands! Let's get to it!
This course will change the way you shoot film for the better.
part 2
Lab Sheets
Part 2 - Lab Sheets
You just shot your roll, now what do you do?
Lab sheets can be super intimating, and every lab is different. But this course section covers everything you can expect to find on a lab sheets, plus tips on how to fill them out like a pro.
Typical lab sheet categories include:
Pushing/Pulling: if you want to push or pull your film to compensate for over exposing or under exposing- normally I don't have to mess with this but it can come in super handy if you realized you had a setting wrong on your camera after you shot a whole roll, with pushing & pulling, odds are you'll be able to save your images by taking this step when needed!
Print Paper Finish: if you're not trying to get prints, you can ignore this!
Film Scans: if you're scanning film at home, you can select "no scans" or "develop only." This is also where you can select 35mm vs. 120 based on what type of film you shot, and select your resolution. You'll typically see three options, i.e. low res, high res, pro, and high res JPEGs are my sweet spot for quality, print-sized images that don't break the bank.
Scan Delivery: you can go old school and get scans on a CD or USB, but if I'm getting scans at a lab, I'll select the email option to get a handy download link :)
Negatives: if you're going to scan the film at home, request "uncut" so you can weave through the photo scanner. If you're getting scans, you can choose to get them cut in standard strips of four or have them cut and paged (to go in a binder for easy storage).
Slide Mounting: old school if you want slides, but I typically select N/A.
Filling out a lab sheet, you can see how quickly costs add up if you're looking for TIFFs or high res images. Based on the cost of my lab, I did the math and found that if I shoot over 200 rolls a year - I can make the money back I'd spend on my top-tier at-home camera scanning set up in that first year alone. And that means even less for the smaller set-up packages! Crazy!! Even if you only shoot a couple of dozen rolls a year, if you're a lifer, this will pay off in the long run. Being able to save so much money, shorten turnaround time, get full control over your images - that's what sold it for me.
For extra guidance on filling out lab sheets, download the PDF HERE
part 3
Camera Scanning Gear Options
Part 3 - Camera Scanning Gear Options
Let's look at your options for camera scanning film from home.
Here are three different price points you can for basic, mid-range, and professional camera scanning gear.
PRO Kit for 35mm, 120 Film, & Large Format Film -
Priced at around $2,000, this is the kit I personally own, and I consider it the best/buy-once kit for camera scanning. It's compatible with all film formats, and I love that comes with a lot of extra attachments.
Complete Basic Kit for 35mm and 120 Film -
Priced at $900, this kit scans both 35mm and 120 film. It's a solid option that's great for a basic mid-range solution, but keep in mind it has a shorter camera stand and limited compatible lens options.
Priced at $300, this starter kit scans exclusively 35mm film. It's limited in capabilities, but suitable for mirrorless cameras and smaller DSLRs.
There are plenty of other options for kits in different price ranges, so just feel free to shop around on Negative Supply's website, here to find which kit is best for you!
Download the Camera Scanning Kit Options PDF HERE
part 4
Setting Up Your Camera Scanner
Part 4 - Setting Up Your Camera Scanner
Let's breakdown how to get your at home scanning setup in order.
Here are all the pieces that go into setting up my camera scanner:
Camera Stand: the stand you choose will be determined by scans you want. A higher stand, like my Pro Riser Mark 2, will give you the most flexibility to scan different types of film including 35mm, 120 and large format film.
Light Source: this is crucial in getting clear images of negatives, as consistent light creates evenly lit images, and full spectrum light allows for accurate color representation
Negative Holder: this piece sits on top of the light source, holding the film directly under the lens.
Dust Brush: this little guy sits on the end of the negative holder, to help add clarity to any images with dust.
Camera: this is the vessel doing all of the magic. DSLR or mirrorless camera body with mirrorless camera body with interchangeable lenses will work, but full frame sensors will always give you the best results and resolution.
Lens: you'll want to choose a lens that focuses close enough to capture entire frame without having to digitally crop. To do this, you'll need to get a macro lens - I use the Canon L 100mm Macro lens.
Level Mount: this piece helps make sure the camera is completely level and that there's no distortion when you're taking photos of negatives.
Tether: I anchor my computer to my camera body - it's the fastest way for them to communicate.
Camera Utility App: your camera body comes with a free camera utility app, this allows you to control everything from your computer and this makes taking/scanning the photos so much easier.
For a more in-depth breakdown of my film scanning set up, check out the PDF HERE
part 5
Scanning & Editing 35mm
Part 5 - Scanning & Editing 35mm
Our scanning set up is locked and loaded, now let's start scanning 35mm.
To get started, feed the film through the dust brush and push it through the slot until you see it pass through the viewfinder Start to turn the wheel and you'll feel it start to catch the film. Keep turning until you get to your first image.
Shifting over to your computer, open EOS Utility 3 and click on remote shooting. Find the Live view shoot to pull up negatives - this will show you what the camera sees (magic!). Before you dive in too deep, adjust your settings.
I like to make sure of the following:
I set the images to RAW.
I lower ISO to 200 or 160.
I adjust the F-stop between 4.8 and 8.
I shift the shutter speed to 1/160.
Then go to "preferences" and set a destination folder on your desktop (or wherever you save your images)
Okay now let's scan these babies.
Double click in center square, then zoom in and double click again to get her in focus.
Press space bar to take the first scan of your first negative.
Then use the dial to push through to the next frame.
Don't be afraid to raise/lower the camera to get the full frame, just don't forget to double click in center square to refocus if you adjust.
Now it's time to set yourself up for success.
Select "New Catalog" from the dropdown menu, and you'll see a pop up box with the option to a "Create Folder with New Catalog." Name your catalog, select all your images, then save them in a new "Catalog" folder - now you're off!
Then the first thing I like to do before I start editing is go through and adjust for correct orientation. Use command then either the left or right bracket (left for counter-clockwise and right for clockwise) to rotate the images.
Then last thing before you convert your images - you'll want to adjust the white balance. Press "W" and then move the dropper to the frame of the image - make sure all the squares in the sample areas are the same shade, then click and it will white balance the whole image.
Okay now you're ready to convert!
I use the plug in from Negative Lab Pro, and it's the butter to the bread of my whole process of camera scanning. You can use the link below to snag a deal of 10% off! - this is what will allow you to turn your negatives into positives.
https://natephotographic.gumroad.com/l/negative-lab/HANNAHSHEA10
To start converting, hit control "N" to pop open the editing tool. There are three tabs for you to dive into here:
Covert
Lock in your convert settings (these will stay the same, you can set it and forget it), by confirming the source (this should be camera), choosing your preferred color mode (I use Frontier for color and B&W for B&W), choose your preset (I like to keep my default at 3) and setting border buffer (I stay within that 3-5% range). Then press "Convert Negatives."
Edit
This is where trial and error will shine, and you get to play with the tone setting. Each photo has different lighting scenarios, play with tones to see what works best with your style. I love beautiful haziness of the "Cinematic - Log," the strong, punchiness of the "Lab Standard" and the shadows of "Linear Deep" tones. Play around, and let your favorites surprise you.
Keep in mind, these are just the preliminary edits to actual edits. At this stage, I focus primarily on highlights, a little bit of color and overall tone. I never add in a lot of contrast at this point in the game, I save deepening the shadows and adding definition for the second editing phase. While we're in preliminary editing mode, I do play with color correcting the highs and shadows, and I won't shy away from turning down saturation if the image looks too wild.
Advanced
Under Positive Copy Settings, select your format (I go with Tiff), your bits (16 is the sweet spot), your compress (don't do it, select NONE), pick your colorspace (I use Adobe RBG) and your placement (creating a subfolder for your positives is so helpful here). FYI, you only have to choose these settings once, they'll save automatically when you go to edit your next image.
Press apply, your image will turn into a positive, and it will save automatically in your subfolder. Then repeat for your next image!
Now let's go find our positives and start editing.
Go back to your Library, and find the Positives folder - this is the collection you'll edit. Set up a smart folder here, you'll thank me later.
Once your images are in play, I set myself up with a white background (just double click on the background and choose your preference).
Then I obsess over the Bandaid tool to get rid of dust - say bye to those boo boos.
Then it's all about the fabric and feel of the image itself. Here's where I bring contrast up, adjust my shadows, play with tint, saturation and color tones. Warmth, vibrancy, exposure...they're all in play here.
Once you've edited all of your photos, you're ready to export the photos! Rearrange the images as needed, the click command "A" to select all the images, then hit command, shift and "e" to export. Choose specific folder for your newly edited scans, and I recommend exporting the files JPEGs at 95% - you won't lose quality but you'll save space - it's a win-win.
Next up: I'll dive into how to scan and edit 120 film.
part 6
Scanning & Editing 120 Film
Part 5 - Scanning & Editing 120 Film
We'll do a quick little set up to swap our camera scanning set up from 35mm to 120 film, then we'll jump in!
Start by taking off the 35mm film carrier and unscrew the bottom piece. Replace it with the 120 bottom piece, screw it in, then add 120 film carrier. Set that cutie on top, and raise the camera up to the higher 120 mark. Turn on lightbox, turn off any competing lights and you're good to go!
A few notes as you start to scan:
With 120, make sure you're feeding the film left to right.
I have better luck taking the dust brush off when I feed in the film.
When you start feeding the them, pull the door flap up, then feed it in until the first image is visible.
Once you see your shot, close the door flap and start scanning. FYI - you'll raise and lower this flap every time you advance to the next image!
We're right back in it, it's time for a little set up.
Just like when you're scanning 35mm, you'll open EOS Utility 3 and click on remote shooting. You might have a couple quick tweaks to the set up here since we adjust the stand to allow more light in (because 120 is bigger than 35mm y'all). I like to make sure:
I set the images to RAW.
I keep ISO to around 200.
I adjust the F-stop close to the 4.5 mark.
I speed up that shutter speed to 1/320.
Find the Live Shoot to pull up those images. It doesn't hurt to check your preferences again here too, just to make sure you have that neatly organized destination folder in place.
Okay let's start scanning!
Double click in center square, then zoom in and double click again to get her in focus.
Press space bar to take the first scan of your first negative.
Then use the dial to push through to the next frame.
It's a rotating door effect: lift the flap, feed the film, drop the flap back down, hit that space bar and repeat.
Now let's hop into Lightroom to convert these bad boys.
Just like with 35mm the first thing I like to do before I start editing is go through and adjust for correct orientation. Use command then either the left or right bracket (left for counter-clockwise and right for clockwise) to rotate the images.
Then last thing before you convert your images - you'll want to adjust the white balance. Press "W" and then move the dropper to the frame of the image - make sure all the squares in the sample areas are the same shade, then click and it will white balance the whole image.
Okay now you're ready to convert.
Hit command "N" to pop open the editing tool. In the convert tab, your settings can stay the same as in 35mm. Here it's really important to keep that border buffer around 4% just so you don't run the risk of cutting it too close.
Now let's talk about all the controls at our finger tips in the edit tab. This is where you get to play with the tone setting. Each photo has different lighting scenarios, play with tones to see what works best with your style. You know I love beautiful haziness of the "Cinematic - Log," the strong, punchiness of the "Lab Standard" and the shadows of "Linear Deep" tones. Just like in 35mm, play around here and let your favorite tones surprise you. Don't panic if things look too dark, these are just the preliminary edits to actual edits. At this stage, I focus primarily on highlights, a little bit of color and overall tone. Okay and sometimes I flirt with the brightness a little here too. But this is just your first go around on the edit, so be patient with yourself!
In the advanced tab, those settings don't need to shift from 35mm. Just do a quick once over to make sure you're all set. Then press apply, your image will turn into a positive, and it will save automatically in your subfolder. Then repeat for your next image!
Now let's go find our positives and start editing.
Go back to your Library, and find the Positives folder - this is the collection you'll edit. Set up a smart folder here, you'll thank me later.
Once your images are in play, I set myself up with a white background (just double click on the background and choose your preference).
Removing dust is top priority again here - go wild with that bandaid tool to get rid of those blemishes.
Then it's all about the fabric and feel of the image itself. Here's where I bring contrast up, adjust my shadows, play with tint, saturation and color tones. Warmth, vibrancy, exposure...they're all in play here.
To edit in Black & White (yes sometimes I break the taboo of turning color film monochrome), I make sure no edits have been applied, and I choose "Black & White" in the "Treatment" tab. It's a quick shift to make your image monochromatic without adding a preset. When in doubt, make a copy of the image then apply the Black & White treatment, creating an alternative edit for your clients to love in the final gallery.
I play with framing here too. There's an art of cropping to find new images resting within the originals, and I totally encourage you to go wild with that crop tool. But when I'm shooting 120, I like to lock in the aspect ratio to preserve the integrity of the larger format.
And don't panic, you don't have to reinvent the wheel every time. If you have a series of similar-toned images, you can copy final settings from another image, paste and work from there.
Once you've edited all of your photos, you're ready to export the photos! Rearrange the images as needed, the click command "A" to select all the images, then hit command, shift and "e" to export. Choose specific folder for your newly edited scans, and I recommend exporting the files JPEGs at 95%.
I hope you can see that scanning photos at home gives you so much more flexibility and freedom to create with film. Higher resolution scans allow you to crop and play without sacrificing resolution, and it's been such a big unlock for me in my process.
part 7
Lab Scan Comparison
Part 7 - Lab Scan Comparison
Let's do a side-by-side of images we scanned at home vs. at a lab.
This segment shows real-time, side-by-side comparisons in scans, and I hope that showing you the differences between lab and at-home scanning processes will give you an extra boost of confidence in shooting and scanning film at home!
Just in case seeing these examples made it super helpful to see how our scans compare to scans from a local lab, download the PDF HERE to see all the side by side comparisons of the images we scanned together!
part 8
Delivery & Storage
Part 8 - Delivery & Storage
Let's go over how to store and archiving film negatives - we'll go over digital and analog ways to preserve these babies.
This segment covers my tri-fold approach to backing up my images using a working hard drive, a slow spinning drive and an off-site back up. It's what's worked best for me, giving me peace of mind to rest easy and know everything is safe and sound.
Here are the three places I store images digitally:
Working hard drive: I use a Samsung T7 Shield, 2 TB external SSD, it's a fast, portable day-to-day option that is super reliable!
Slow spinning drive: I use the LaCie Rugged USBC 4 TB external hard drive. I have my hard drives labeled by year and this is where I backup the files that are on my Samsung T7 Shield.
Off-site back up: I upload scans to an off-site back up before and after final delivery to preserve original files in case of emergency, and to keep final images and memories preserved.
After you've ensured your images are safe and sound electronically, I love to archive my negatives in binders. A simple binder from Amazon, like this one works great, it's nice to know I could go back to any negative I've shot and rescan it - not essential, but it's a great analog back up!
Or visit my amazon storefront- includes my favorite films, albums, hard drives, and more. For all your film kit needs!
Hannah Shea's Amazon Store - https://amzn.to/3P3P3fl
Feel free to download the PDF HERE to always refer back to my back-up process!
part 9
Closing
Part 9 - Closing
That's a wrap!
I sincerely hope that this course allows you to take photo scanning to the next level and make it completely your own. Ultimately, I really believe in camera scanning and having full control over your scans from start to finish - it's the answer to being more artful with your images and being more intentional throughout the entire process.
I can't wait to see how camera scanning changes your relationship with your film, & I promise the best is yet to come.